
My lovely wife. 🙂
Peace,
-Steve
My lovely wife. 🙂
Peace,
-Steve
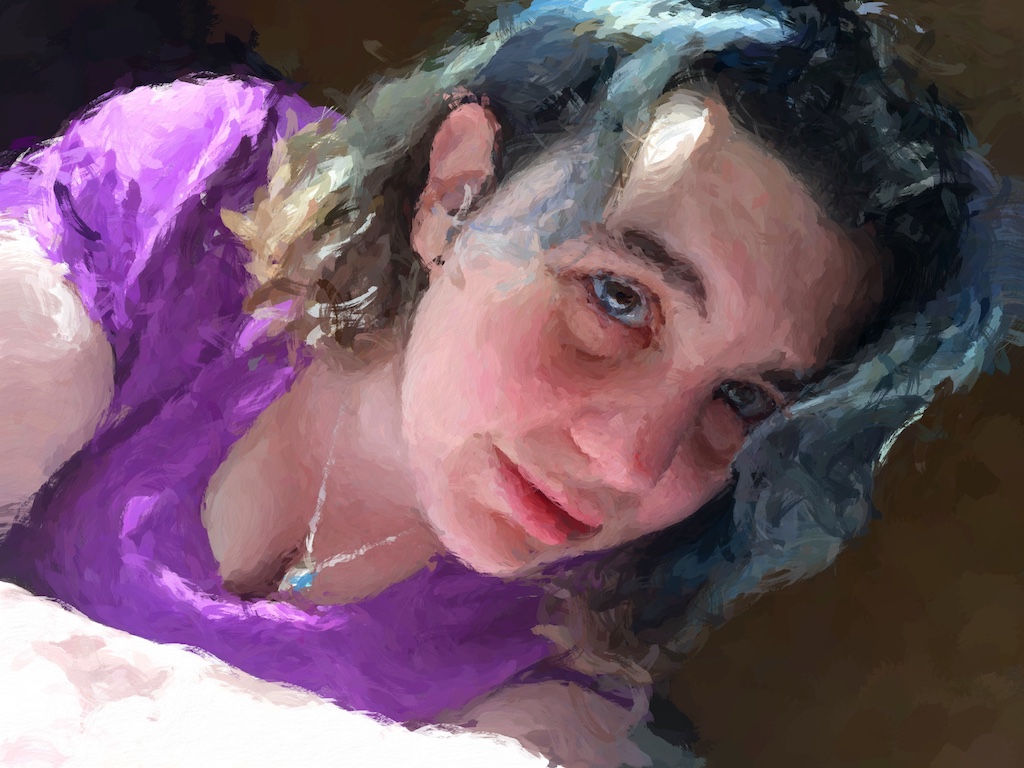
So for those of you following me on Facebook, I’ve lately been working on a programming project that takes photographs and turns them into impressionist paintings. I have named this program DEGAS, which stands for Digitally Extrapolated Graphics via Algorithmic Strokes. (I’ve always loved a good name-cronym, especially when it’s a pun. 🙂 )
It’s not done with neural networks, like Ostagram.ru does. Although neural networks are all the rage right now, they only mimic the features and product of a painting, not the process.
It’s also not a filter – that is to say that the process is not fully automated. You don’t just choose a photograph and it works on it alone and then *boom* you have a painting. You have to “paint” the details onto the photo by choosing your brushes, size, angle range, and scatter, and DEGAS automates color selection and brush orientation based upon what fits the color contours the best.
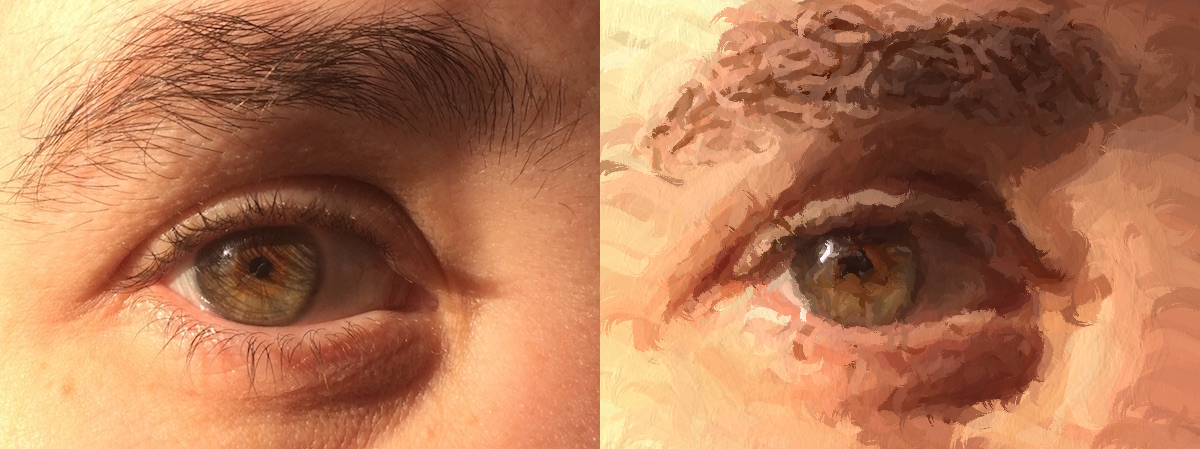
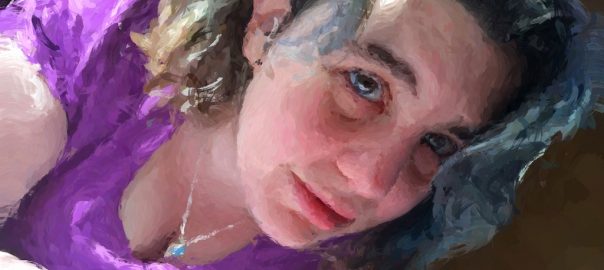
A before and after shot on a test image. All the pictures here are of my wife. 🙂
In essence, it’s an impressionist gattling-brush. The choice of what features to emphasize and their final form are still more or less in the hands of the painter, but the most time consuming aspects are automated.
It’s written in plain, vanilla HTML5/Canvas. No special libraries (although I tinkered with gpu.js for a few operations that didn’t pan out). And the currently used portion of the codebase comes in at under 1,000 lines. Once I work out a few bugs, and design a nicer UI for it, I’ll probably release the source code for anyone who wishes to play with it.
So, how does it work? First it creates several canvases:
The source image is loaded in to the Source, Blur Buffer, and Display canvases. The Display canvas is appended to the body of the document, and the Blur canvas is blurred by a few pixels to smooth out rough details.
The initial brush shape is then loaded into the Brush canvas. All a brush is is an outline with a transparent background. Generally it also has antialiased edges and some alpha for thin paint. (Brushes are generally 512×512.)
Where there are several ways to add strokes to the painting, when each stroke is placed it follows the same procedure:
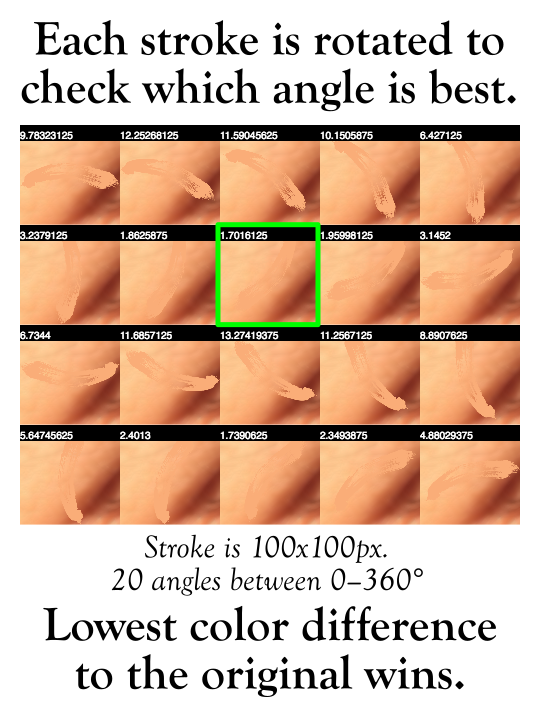
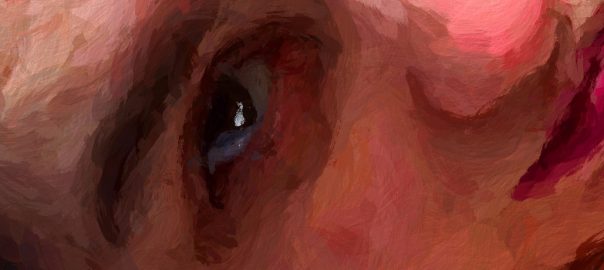
And it does this dozens of times per second to a very stunning effect.
Some of the parameters that can be changed to affect the spread of the strokes include:
DEGAS also keeps track of each stroke. As a result, it can re-paint an image while loading a painting back into memory; which looks like this:
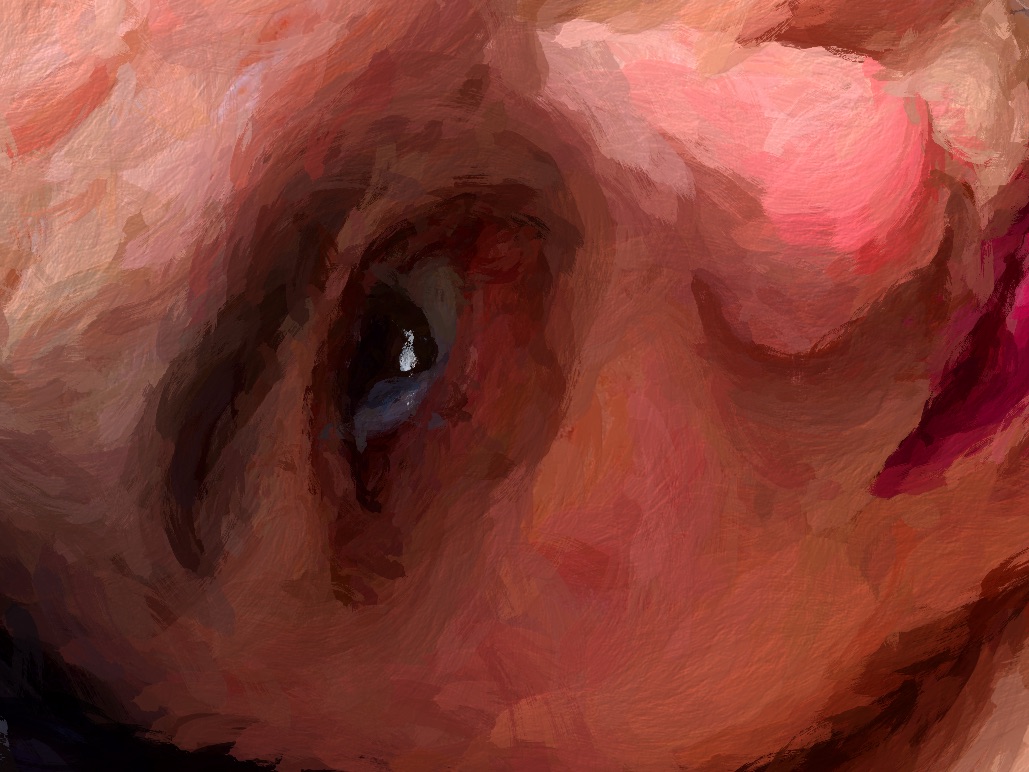
And because it keeps track of all of those strokes, it can also do some really fun post-processing. It can generate a height map of the paint:
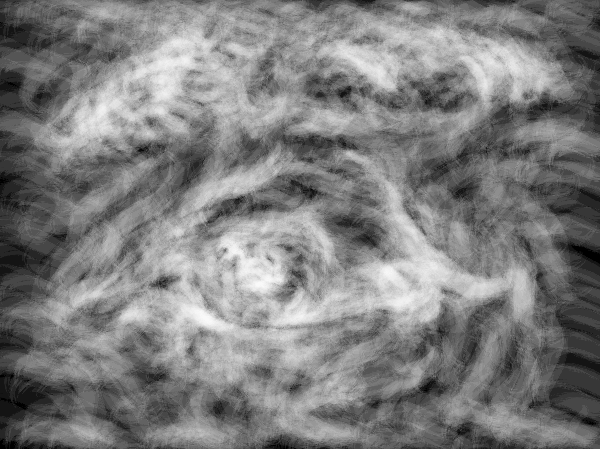
And from that height map, generate a normal map:

And then from that normal map, add the depth of the paint by simulating light casting onto the strokes:
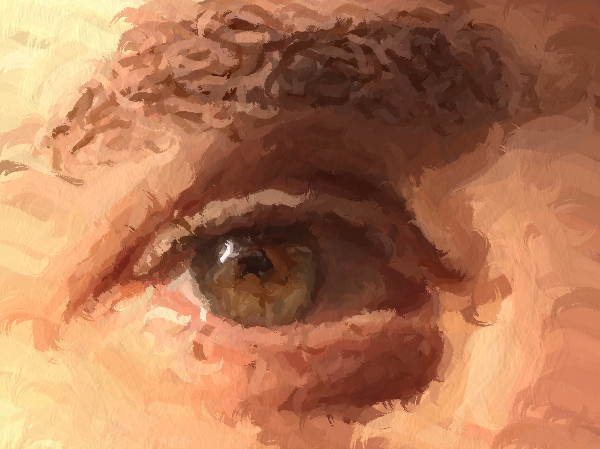
And it looks pretty neat:
One could potentially also use the height map to “3D print” one of these paintings onto a canvas using something like a UV ink printer (which is precisely what they did for The Next Rembrandt project).
I’ll be posting more images here soon.
UPDATE (March 29, 2017): I’ve skipped the normal map step and have gone and implemented GIMPs bump map algorithm (which computes the normals much better and shades them directly without sticking them in a normal map file first). Here’s a new video showing it in action. You may have to view it full screen as the effect of the brush strokes at this resolution is a bit subtle.
FURTHER UPDATES (Oct 16): DEGAS is now officially an “award winning algorithm.” It came in 1st place in the Graphics category at Arts in the Park (I should post some pictures). I also have a gallery of some of my work up here.
Peace,
-Steve